Comprehensive Guide to Embroidering Caps and Hats
Discover the art of transforming plain caps into personalized masterpieces with our Comprehensive Guide to Embroidering Caps and Hats. Uncover essential tips, step-by-step techniques, and creative ideas to elevate your embroidery skills and bring a unique touch to your headwear. Whether you're a seasoned crafter or a beginner, this guide will equip you with the knowledge to seamlessly stitch your way to stylish, custom headgear.
What is embroidery?

Embroidery is a decorative craft that involves embellishing fabric or other materials with needle and thread.
This age-old technique allows artisans to create intricate designs, patterns, and images by sewing various types of stitches onto a base material. Embroidery can be done by hand or using specialized sewing machines, and it's often used to adorn clothing, accessories, and textiles.
This versatile art form enables the addition of intricate details, logos, and personalized touches to a wide range of items, showcasing the skill and creativity of the embroiderer.
Basic techniques and tools used in embroidery

Embroidery involves various techniques and tools, providing endless creative possibilities. Some basic techniques and tools commonly used in embroidery include:
Techniques
Running Stitch: Simple and straight stitches used for outlining or creating fine lines.
Backstitch: Similar to the running stitch but more durable, ideal for outlining and adding details.
Satin Stitch: Smooth, continuous stitches covering a specific area for a solid, satin-like appearance.
French Knot: A raised knot used for adding texture and dimension to designs.
Chain Stitch: Looped stitches forming a chain-like pattern, versatile for outlining and filling.
Tools
Embroidery Hoop: Holds the fabric taut, facilitating easier stitching and preventing distortion.
Needles: Various types for different stitches and fabric types.
Embroidery Floss or Thread: Strands of embroidery-specific thread available in a wide array of colors.
Scissors: Sharp, small scissors for cutting threads.
Thimble: Protects the finger while pushing the needle through tough fabrics.
Fabric Markers or Pencils: Used for transferring or sketching the embroidery design onto the fabric.
Needle Threader: A helpful tool for threading needles, especially with fine threads.
Stabilizer: Provides support to the fabric, preventing stretching or distortion during embroidery.
Mastering these fundamental techniques and utilizing the right tools allows both beginners and experienced embroiderers to create intricate and visually appealing designs on various fabrics.
Importance of embroidery in apparel customization
Embroidery on caps and hats serves as a powerful tool for branding, offering several key advantages. Firstly, it provides a professional and polished appearance, enhancing the perceived value of the product or brand.
Logos, slogans, or brand names embroidered onto headwear become instantly recognizable, contributing to brand visibility and recall. Additionally, the durability of embroidered designs ensures a long-lasting and high-quality representation of the brand.
As functional accessories, caps and hats with branded embroidery also serve as effective marketing tools, reaching a broad audience while conveying a sense of identity and style. Overall, embroidery on headwear proves essential for creating a lasting and memorable brand image.
The Benefits of Embroidering Your Brand

Professionalism and Brand Identity
Embroidering your brand onto apparel, including caps and hats, enhances professionalism and establishes a distinct brand identity. The polished appearance of embroidered logos or names adds a touch of sophistication, making your brand easily recognizable and conveying a sense of credibility to customers and clients.
Durability and Longevity of Embroidered Designs
Embroidery offers lasting quality, ensuring your brand's representation stands the test of time. Unlike some printing methods that may fade or peel, embroidered designs are durable and resistant to wear and tear. This longevity contributes to a consistent and reliable brand image, reinforcing the perception of quality and attention to detail.
Customization Options for Unique Brand Representation
Embroidery provides versatile customization options, allowing for unique and creative brand representation. From selecting thread colors to choosing intricate designs, the flexibility of embroidery empowers brands to tailor their messaging and visuals. This customization fosters a distinctive brand personality, setting your products apart in a competitive market and resonating with your target audience.
In conclusion, the art of embroidery goes beyond mere decoration; it serves as a strategic branding tool. The professional touch, durability, and customization options it offers contribute significantly to building a strong and memorable brand presence in the minds of consumers.
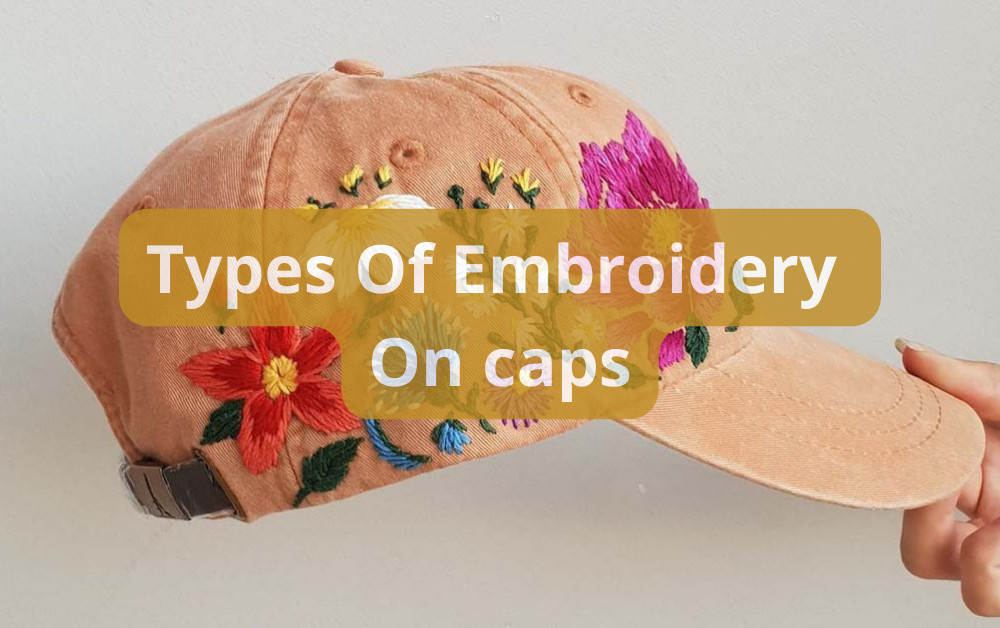
The Different Types of Embroidery

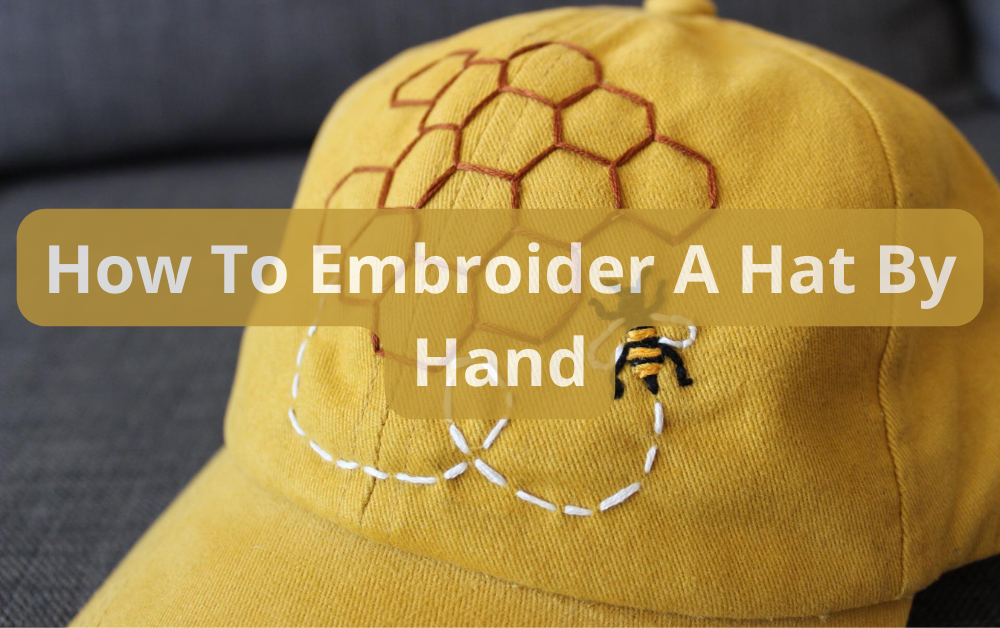
Traditional Hand Embroidery
Skills and Techniques Involved
Running Stitch: Basic and versatile stitch for outlines or simple designs.
Backstitch: Durable stitch for outlining and creating fine details.
Satin Stitch: Smooth and solid, ideal for filling in shapes or creating a satin-like finish.
French Knot: A raised knot for adding texture and dimension.
Chain Stitch: Looped stitches forming a chain pattern, suitable for lines or filling.
Developing precise hand-eye coordination is crucial for achieving intricate details. Expertise in understanding thread tension, spacing, and choosing appropriate stitches enhances the overall quality of the embroidery.
Traditional hand embroidery often involves a combination of these techniques to create visually appealing and complex designs.
Suitable Materials for Hand Embroidery
Cotton Fabric: A popular choice due to its smooth texture and ease of stitching.
Linen: Offers a slightly textured surface, suitable for various embroidery styles.
Wool Fabric: Ideal for crewelwork and other types of embroidery, providing a warm and rich texture.
Embroidery Floss: A divisible thread available in numerous colors, commonly used for hand embroidery.
Embroidery Needles: Come in various sizes and types to accommodate different fabrics and stitches.
Embroidery Hoop: Keeps the fabric taut, aiding in the stitching process.
Thimble: Protects the finger from the needle and aids in pushing it through tough fabric.
The choice of materials impacts the final result, and traditional hand embroiderers often experiment with fabric and thread combinations to achieve the desired aesthetic.
Understanding the characteristics of each material is crucial for successful hand embroidery projects, allowing artisans to create beautiful and enduring works of art.
Machine embroidery
Overview of Automated Embroidery Machines
Computerized Control: Automated embroidery machines are equipped with computerized controls that precisely guide the stitching process. Designs can be loaded digitally, allowing for intricate and complex patterns.
Multiple Needles: Unlike hand embroidery, many machine embroidery models feature multiple needles, enabling the machine to switch colors seamlessly without manual thread changes.
High Speed: Automated machines can produce embroidery at a much faster rate than manual stitching, making them ideal for bulk production and commercial applications.
Precision and Consistency: Machines ensure precise stitching and consistent quality, reducing the likelihood of errors that may occur in manual embroidery.
Advantages of Machine Embroidery for Bulk Production
Efficiency and Speed: One of the primary advantages is the ability to produce large quantities of embroidered items in a relatively short time. This is particularly beneficial for businesses with high-volume orders or tight deadlines.
Consistent Quality: Machine embroidery guarantees uniformity in each item produced. Consistent stitch patterns, colors, and placement contribute to a professional and polished appearance across the entire batch.
Cost-Effectiveness: While the initial investment in a machine and digitized designs may be significant, the cost per embroidered item decreases with larger production volumes. This cost-effectiveness is especially advantageous for businesses focusing on mass production.
Versatility: Automated machines can handle a variety of fabrics and designs, offering flexibility in terms of the type of items that can be embroidered. This versatility makes them suitable for a wide range of applications, from apparel to promotional products.
In conclusion, machine embroidery has revolutionized the production process, offering efficiency, precision, and versatility. Its ability to meet the demands of bulk production while maintaining consistent quality makes it a valuable tool for businesses and industries requiring large quantities of customized, embroidered items.
3D puff embroidery
Creating a Raised, Textured Effect on Hats
Foam Underlay: The distinctive feature of 3D puff embroidery is the use of a foam underlay beneath the stitches. This foam raises the embroidered area, creating a three-dimensional, puffy effect.
Enhanced Depth: The foam underlay adds depth and dimension to the design, making it stand out from the surface of the fabric. This technique is particularly popular for logos, lettering, or any design element that benefits from a raised appearance.
Specialized Embroidery Machines: 3D puff embroidery is often executed using specialized embroidery machines equipped to handle the added thickness of the foam. These machines automatically adjust settings to accommodate the unique requirements of this technique.
Design Considerations for 3D Puff Embroidery
Lettering and Logos: Bold, blocky fonts and simple logos with clear outlines work well for 3D puff embroidery. The technique is especially effective for emphasizing letters and logos on caps and hats.
Size and Detail: Larger designs with well-defined elements are more suitable for 3D puff embroidery. Fine details may be lost, so it's essential to simplify intricate designs for optimal results.
Color Choices: Consider using contrasting thread colors to make the raised embroidery pop. The choice of thread can significantly impact the visibility and overall aesthetic of the 3D puff effect.
Placement: Identify strategic areas within the design where the puff effect will be most impactful. This is often applied to key elements, such as the central part of a logo or the main letters in a word.
3D puff embroidery adds a tactile and visually striking element to hats, making them more distinctive and appealing. Careful consideration of design elements and thoughtful execution are crucial to achieving optimal results with this specialized embroidery technique.
Tips for Embroidering Your Brand
Design Considerations for Embroidering Caps
Choosing the Right Logo or Text
Simplicity is Key: Opt for a logo or text that is simple and easily recognizable, especially when dealing with the limited space on caps. Clear, bold designs work well, ensuring that the embroidered element remains visually appealing and legible.
Distinctive Features: Consider designs with well-defined features that can be translated effectively into embroidery. Intricate details may be challenging to replicate, so choose elements that will maintain clarity when stitched.
Size and Placement on Caps
Appropriate Size: Size matters when it comes to cap embroidery. The design should be large enough to be visible and make an impact but not so large that it looks disproportionate or crowded on the cap.
Consider the Cap's Structure: Different caps have various structures, including the crown, front panel, and brim. Factor in the cap's construction when determining the size and placement of the embroidery to ensure it complements the overall design.
Front and Center: The front panel of the cap is a common and prominent placement for logos or text. It offers visibility and is a traditional choice for branding. However, explore other areas like the sides or back for a unique touch.
Avoid Crowding: While it's tempting to include a lot of information, avoid overcrowding the design. A clean and well-spaced embroidery design enhances overall aesthetics and readability.
Thoughtful consideration of these design elements is crucial for creating visually appealing and effective embroidered caps. Whether for branding purposes or personal expression, the right logo, text, size, and placement contribute to a successful and stylish embroidered cap design.
Material Selection for Embroidery
Types of Fabrics Suitable for Embroidery
Cotton: A popular choice due to its smooth and soft texture, making it easy to work with and suitable for various embroidery techniques.
Linen: Offers a slightly textured surface, providing a classic look. Linen is durable and holds embroidery well.
Polyester: Known for its durability and resistance to wrinkles, polyester is a suitable choice for machine embroidery and projects requiring a more polished finish.
Wool: Ideal for crewelwork and certain embroidery styles, wool provides a warm and rich texture.
Preparing the Fabric for Embroidery
Washing and Ironing: It's crucial to wash and iron the fabric before starting the embroidery to remove any sizing, dirt, or wrinkles. This ensures a clean and smooth surface for stitching.
Using Stabilizers: Stabilizers provide support to the fabric during embroidery, preventing distortion or puckering. Different types of stabilizers, such as cut-away or tear-away, are chosen based on the fabric and project requirements.
Hoop Selection: Choose an appropriately sized embroidery hoop to keep the fabric taut during stitching. This aids in maintaining even tension and prevents the fabric from shifting.
Thread Selection: Consider the type of thread based on the fabric and desired effect. Embroidery floss, metallic thread, or specialty threads may be chosen to complement the fabric and design.
Needle Choice: Select the right needle for the fabric type. For example, finer needles work well with delicate fabrics, while heavier needles are suitable for thicker materials.
Transferring the Design: Use fabric markers, pencils, or water-soluble pens to transfer the embroidery design onto the fabric. Ensure the design is centered and aligned appropriately before starting the stitching.
Thoughtful material selection and careful preparation are essential steps in ensuring the success of an embroidery project. By considering the characteristics of different fabrics and taking the necessary preparatory measures, embroiderers can achieve beautiful and lasting results.
Thread and Color Choices for Embroidery
Selecting the Right Thread for Durability and Aesthetics
Embroidery Floss: A versatile choice for hand embroidery, available in a wide range of colors. It consists of multiple strands that can be separated to achieve different thicknesses.
Polyester Thread: Known for its durability, polyester thread is resistant to fading and color bleeding. It's suitable for machine embroidery and projects requiring long-lasting results.
Rayon Thread: Offers a smooth, shiny finish, making it a popular choice for high-end embroidery projects. Rayon thread works well for decorative stitching and adds a luxurious touch to the final product.
Metallic Thread: Adds a shimmering effect to embroidery, ideal for accents and decorative elements. It's essential to use metallic thread carefully to prevent breakage during stitching.
Coordinating Colors for Effective Branding
Color Consistency: Maintaining consistent brand colors across embroidery projects is crucial for effective branding. Choose thread colors that closely match the brand's official color palette.
Contrast for Visibility: Ensure that the thread color contrasts well with the fabric to enhance visibility. A high-contrast design ensures that the embroidery stands out and remains legible.
Consider the Background: When embroidering on colored or patterned fabrics, consider how the thread color will interact with the background. The goal is to create a visually appealing and harmonious design.
Test Samples: Before committing to a large embroidery project, test different thread colors on a sample piece of fabric. This helps assess how the colors appear together and ensures that the final result aligns with the intended branding.
Thoughtful thread selection and color coordination contribute significantly to the overall impact of an embroidered design. By balancing durability, aesthetics, and brand consistency, embroiderers can create visually appealing and effective branding through their projects.
Conclusion
In conclusion, mastering the art of embroidering caps and hats unveils a world of creative possibilities. From selecting the right materials and threads to perfecting techniques like 3D puff embroidery, this comprehensive guide equips enthusiasts with the skills to transform headwear into personalized works of art.
Whether aiming for professional branding or individual expression, the careful considerations of design, size, and color coordination are paramount. Embroidery not only adds aesthetic value but also embodies craftsmanship. Embrace this guide, and let each stitch tell a story, turning ordinary caps into extraordinary expressions of style and identity. Elevate your embroidery journey today.